I started planning this party several weeks in advance by creating a Pinterest board. The first project I started was the chocolate mustaches. I found the perfect mold online and was so excited when it came in that I did a test run right away. I used wilton candy melts in dark and light cocoa for a variety. Next, I found red and green poster board at the dollar store and started cutting out the Mario and Luigi visors. At first I tried to find decent prices on red and green caps, but I didn't succeed. But, I found this wonderful template from Cute As A Fox, and started to work. The visors themselves were simple to cut out, glue together and punch holes, but the hardest part was tying the knots on the stretchy bands. My husband helped a lot with these, so I was very grateful. I found sticky mustaches online as well and they were a hit with the kids.
 Next came the game planning, I found several ideas online. For the first station, we used permanent markers to make ghost faces on white balloons to replicate Boo ghosts. As the mini Marios and Luigis entered the house, they came through a Hall of Ghosts mimicking Boos from the castles in Mario. They had to go through the hall, without letting the ghosts touch them.
 My favorite was the Goomba Stomp. We decorated balloons to look like Goombas including feet to hold them up. We brought them all into one room and let the kids try to take out the Goombas by stomping, jumping and sitting on them until they popped. It was a huge hit with the kids, minus a young one that didn't like all the noise.
We also did a Yoshi Egg Hunt. I found white eggs, painted green dots on them and filled them with Gold Mario chocolate coins custom made from Foiled Again Chocolate Coins. This chocolate was excellent quality and who can have a Mario party without gold coins?


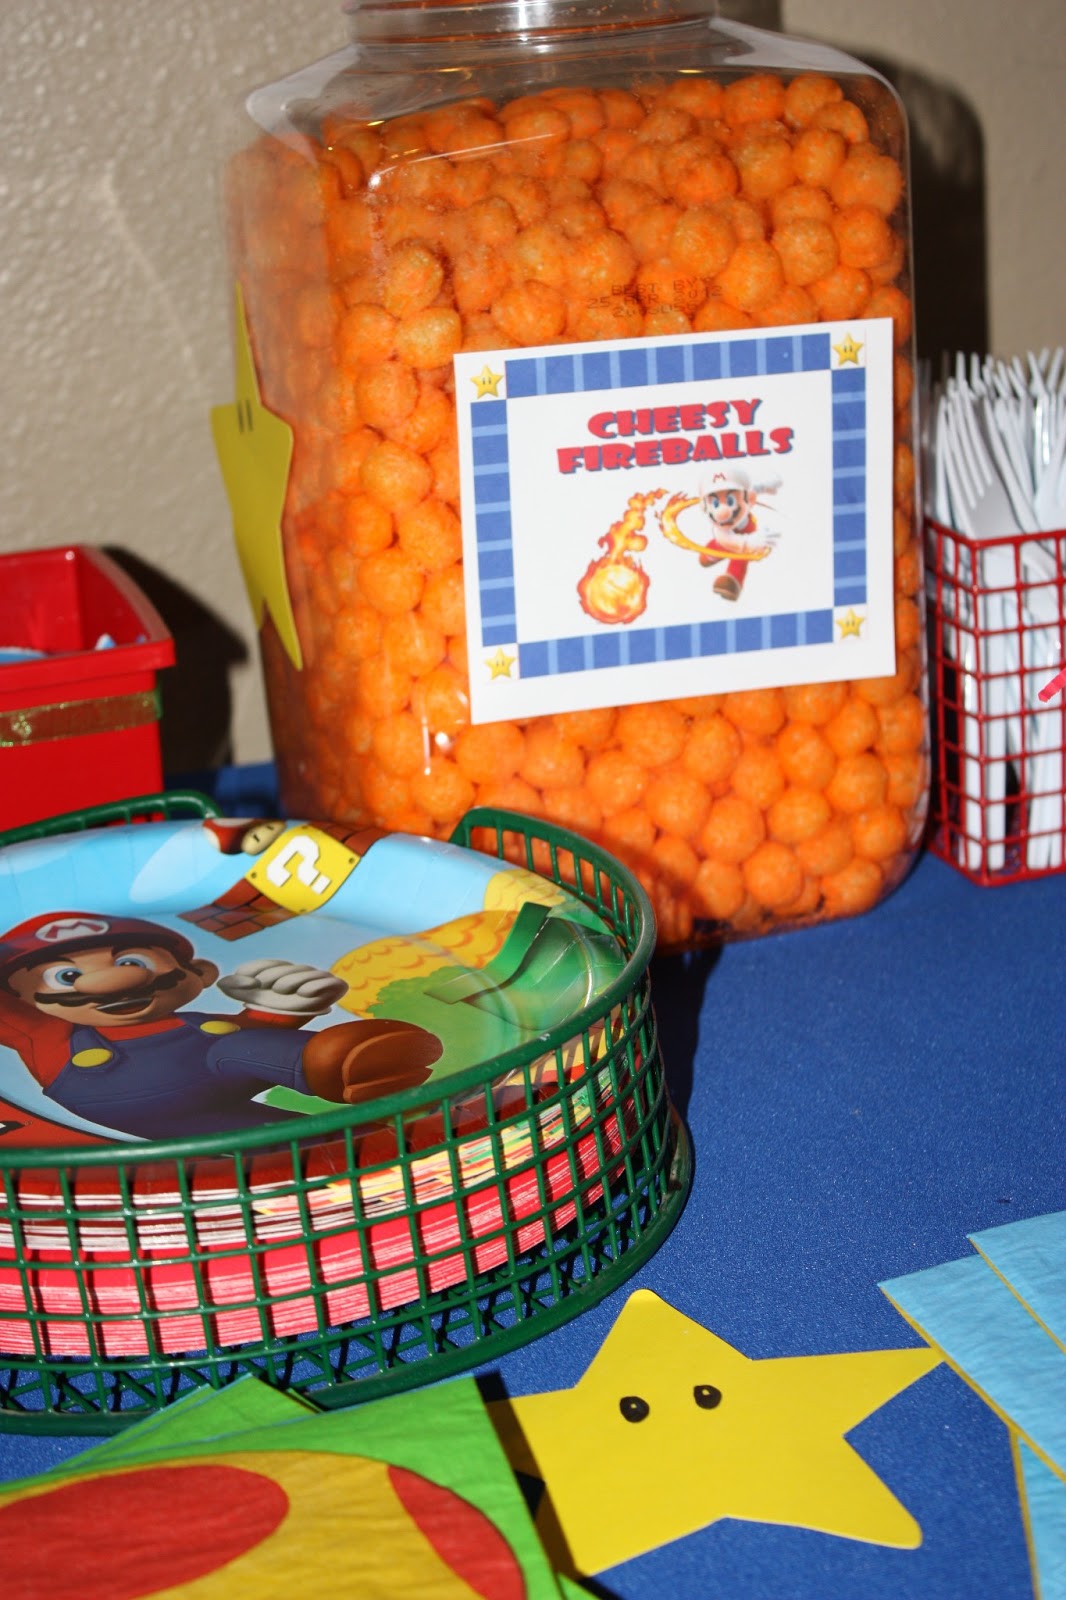
 The food was very simple. Since the Mario brothers are Italian, pizza was the best option. Notice that the picture of Mario is using my son's face. I used that on the invitations as well to make them personalized. We had Cheesy fireballs from cheese balls, and dipped marshmallows that looked like mushrooms.

 The cake was one layer of red velvet and another vanilla, both covered in modeling chocolate. Some of the figures were made with modeling chocolate as well. I'm not great with people yet, so I only attempted to make mushrooms, bombs, stars, the piranha plant and the bullet.

Since the party was combined for my 4 and 8 year old, I made them each their own 4 Up and 8 Up mushrooms as well as individual mushroom cupcakes for their candles.